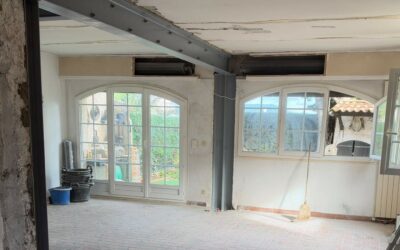
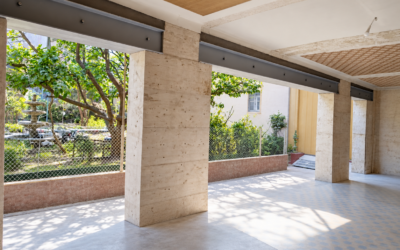
Project carried out in – in the load-bearing walls category

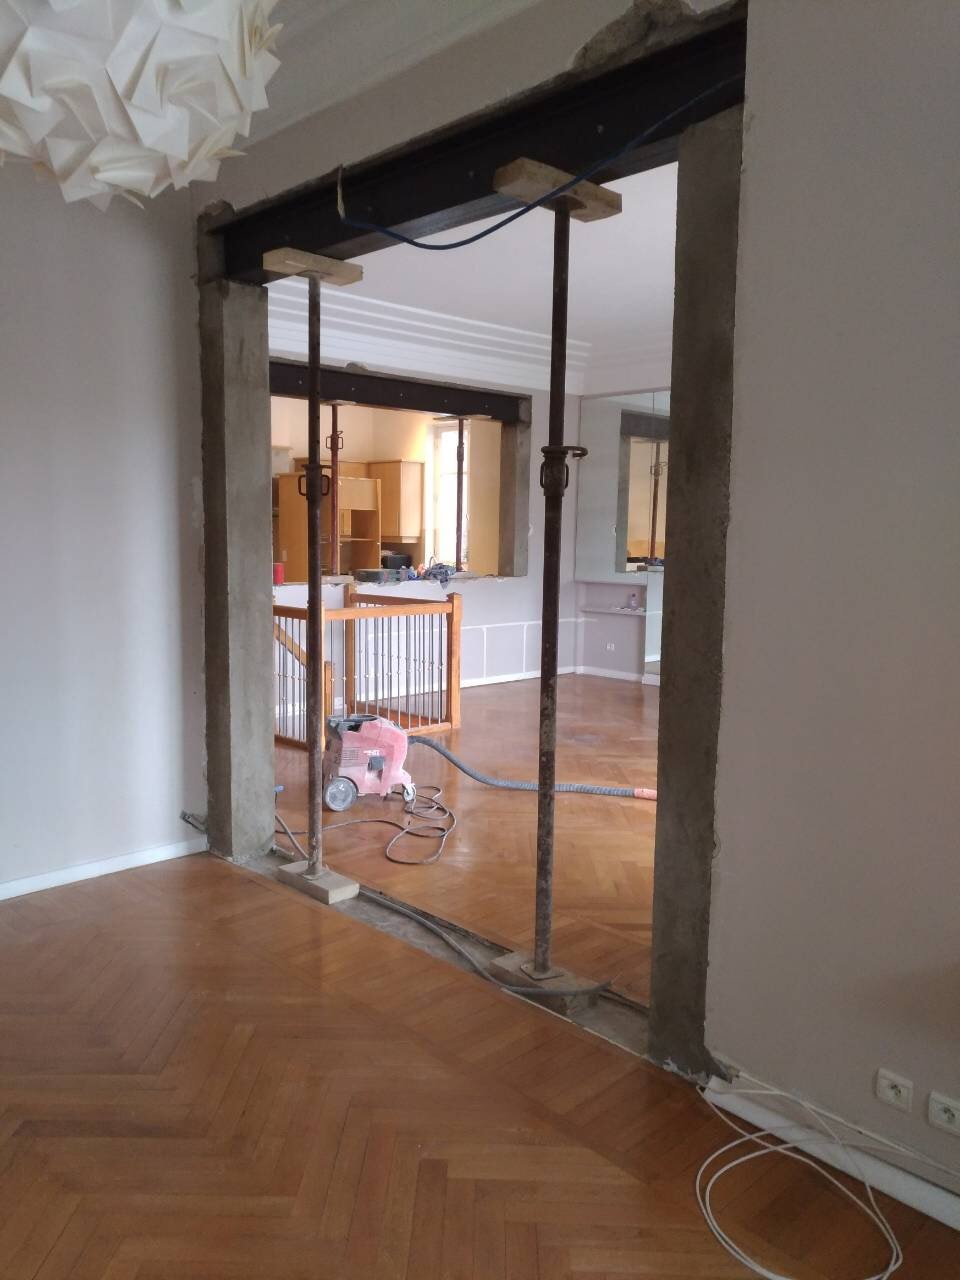

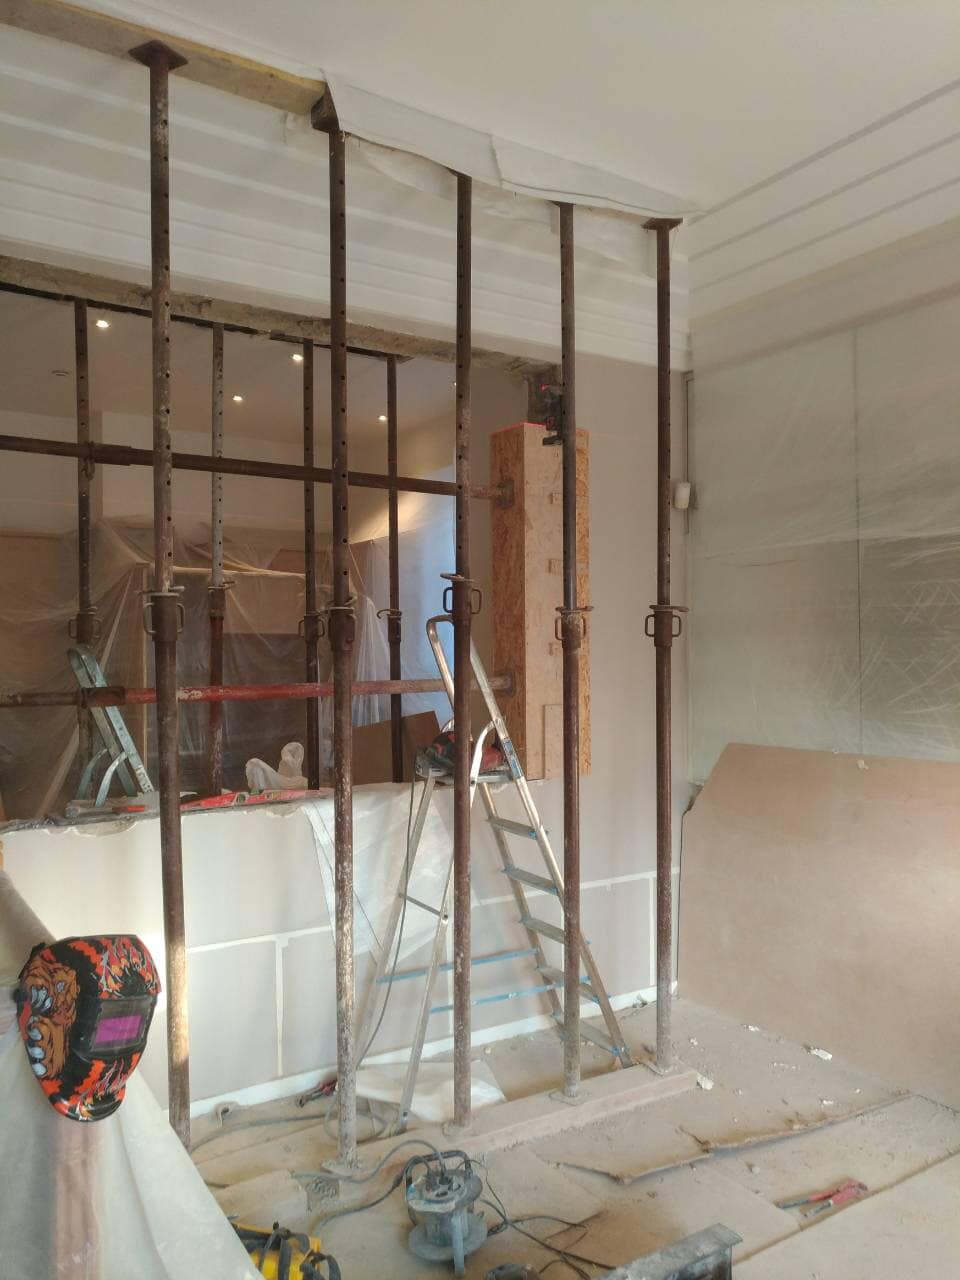
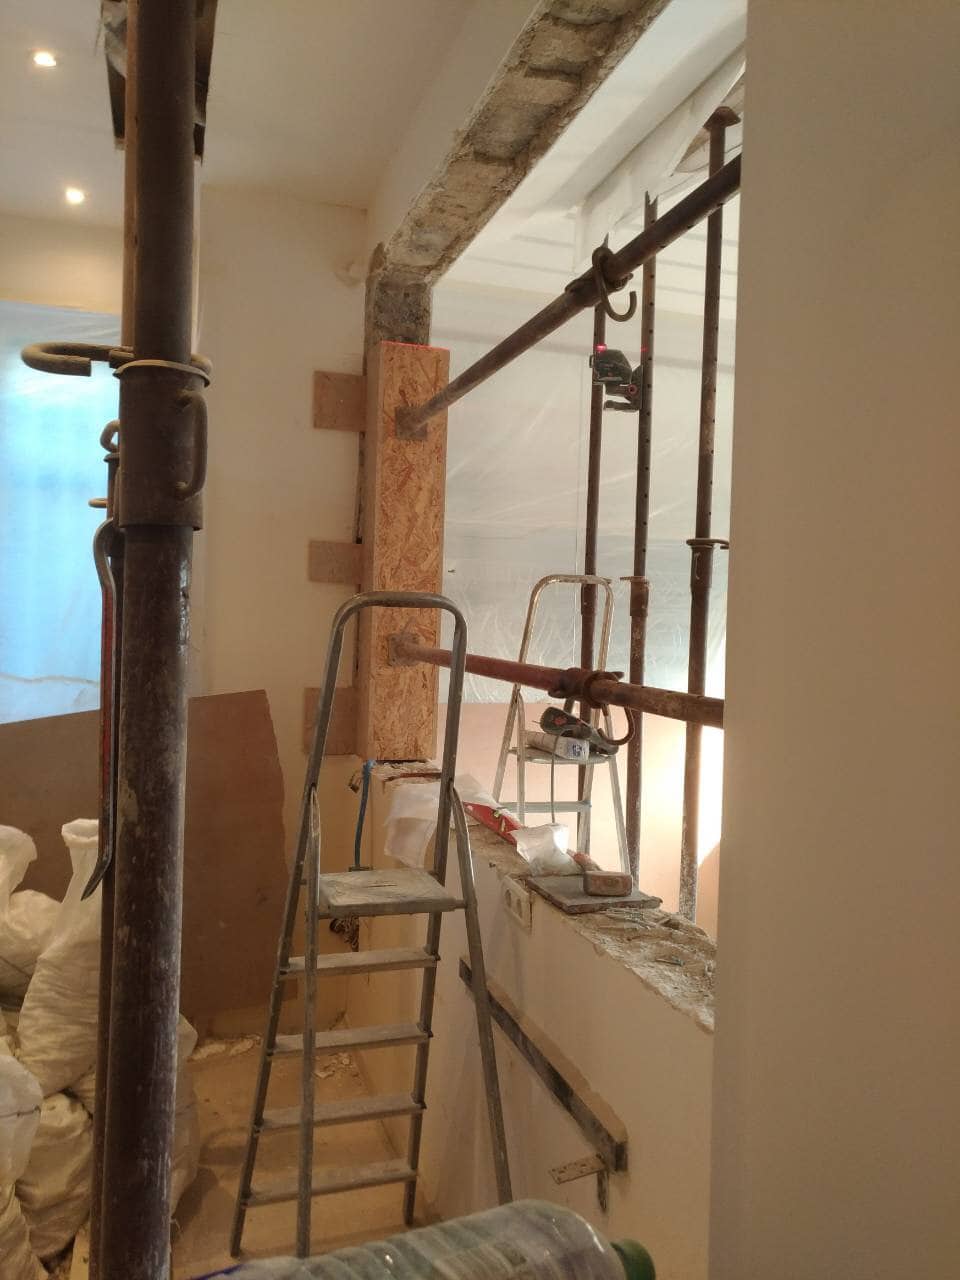
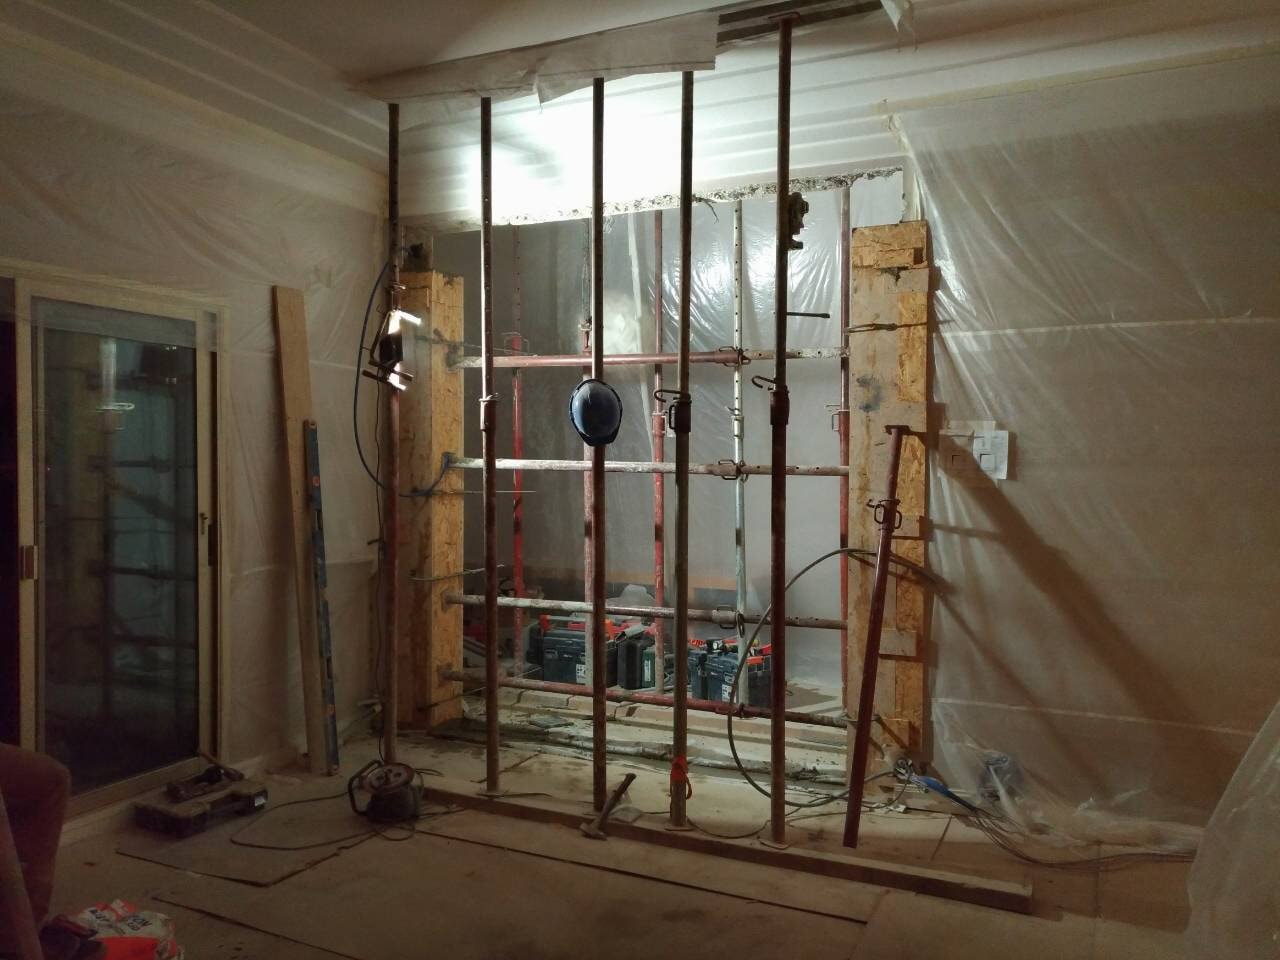
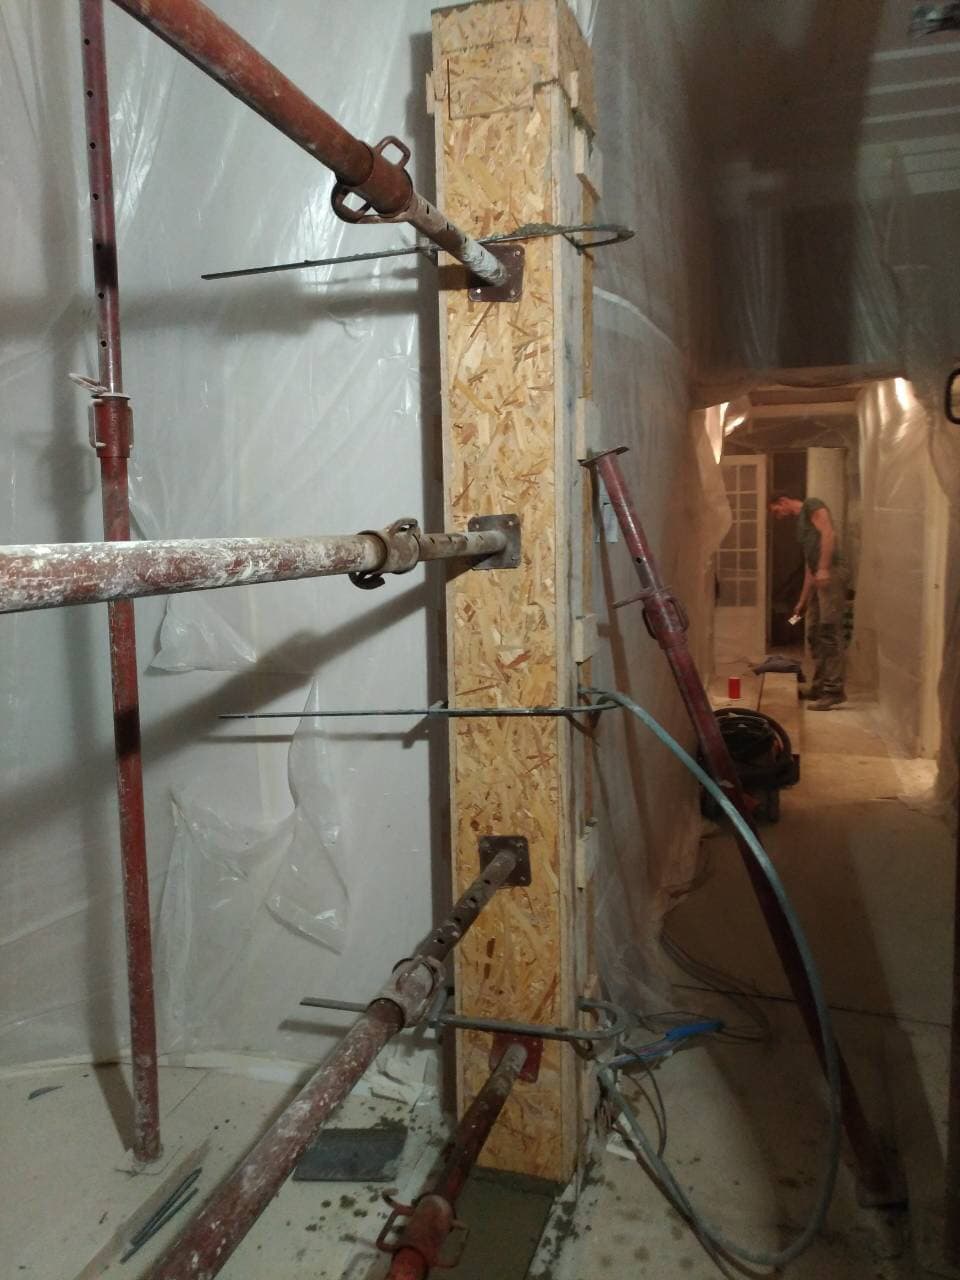
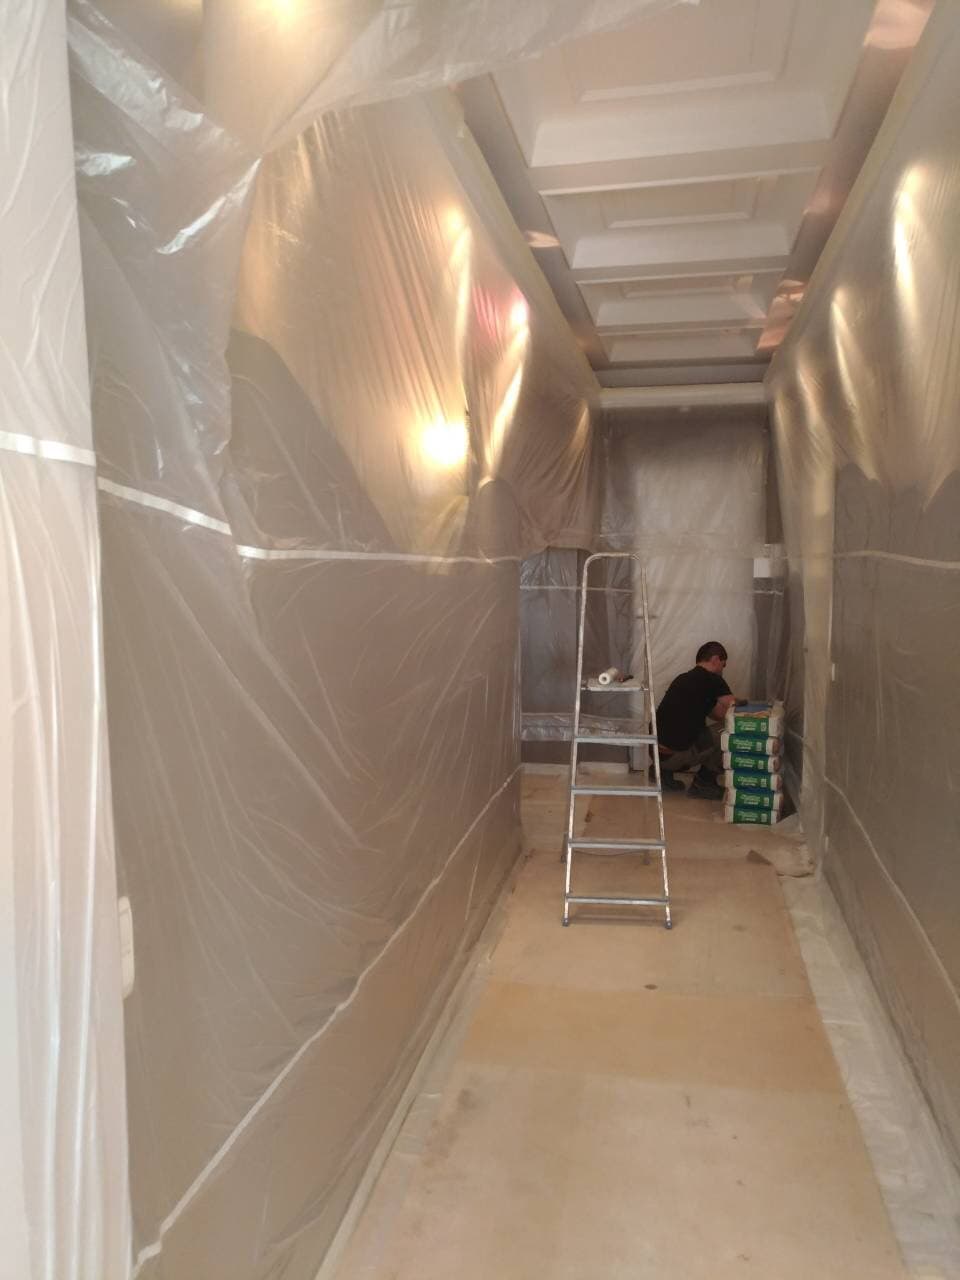
Creating an opening in a load-bearing wall
Interior renovation work is something we handle. Recently, we focused on two projects: load-bearing wall demolition with a engineering office based on the Côte d'Azur. More precisely, these are two different openings. One was handled by the Paris BET while the other was carried out by the one in Nice.
Our first job
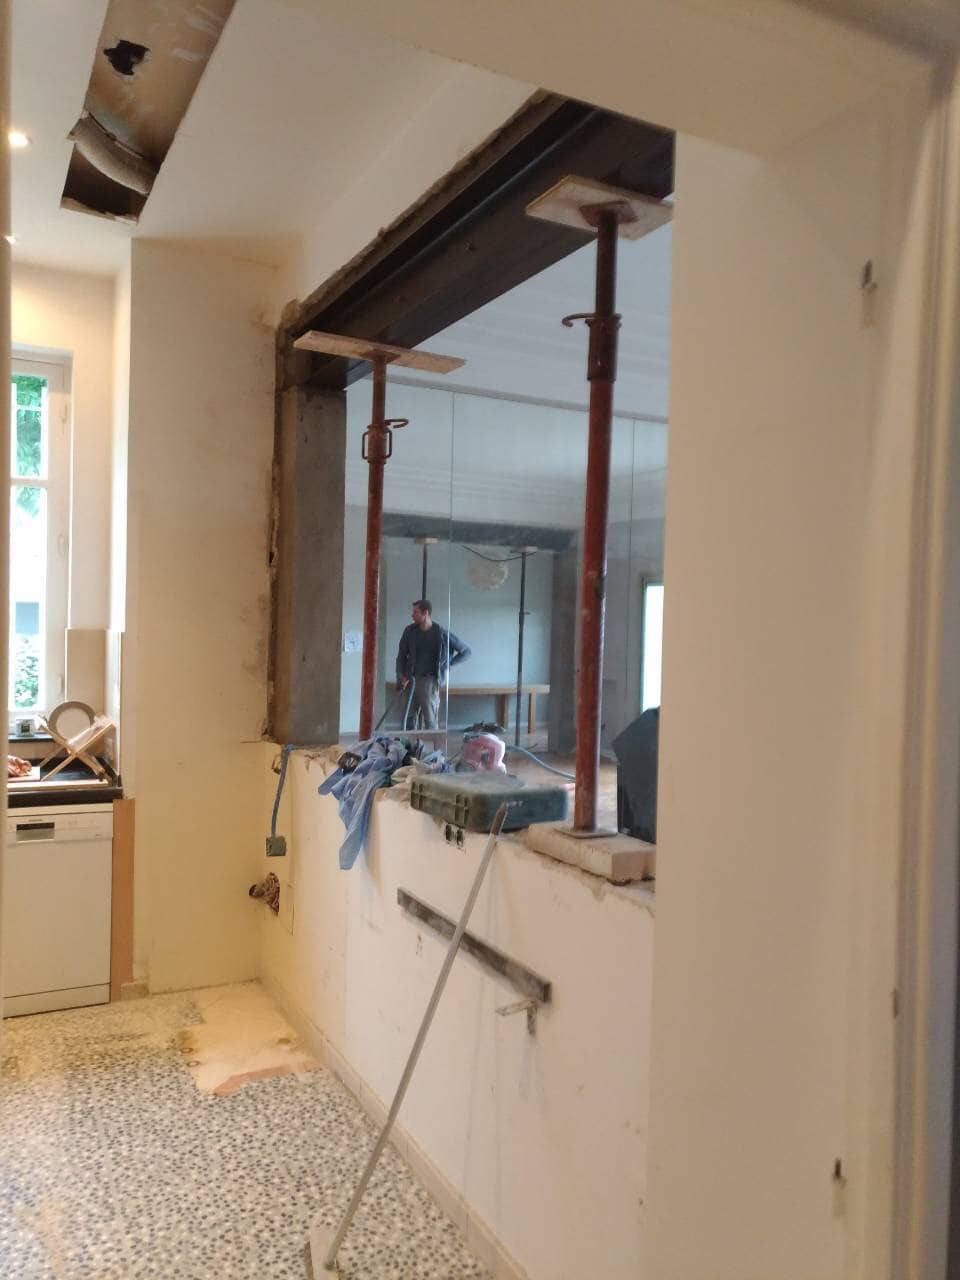
The first project concerns opening a reinforced concrete load-bearing wall, hence the complexity of the steps. First of all, reinforcement must be put in place. As usual, we followed the BET's requirements and used two UPN 260.
Note that the maximum span of the lintel is 3.20 m, while that of the floors picked up is 3.10 m and 5.75 m.
How do we proceed?
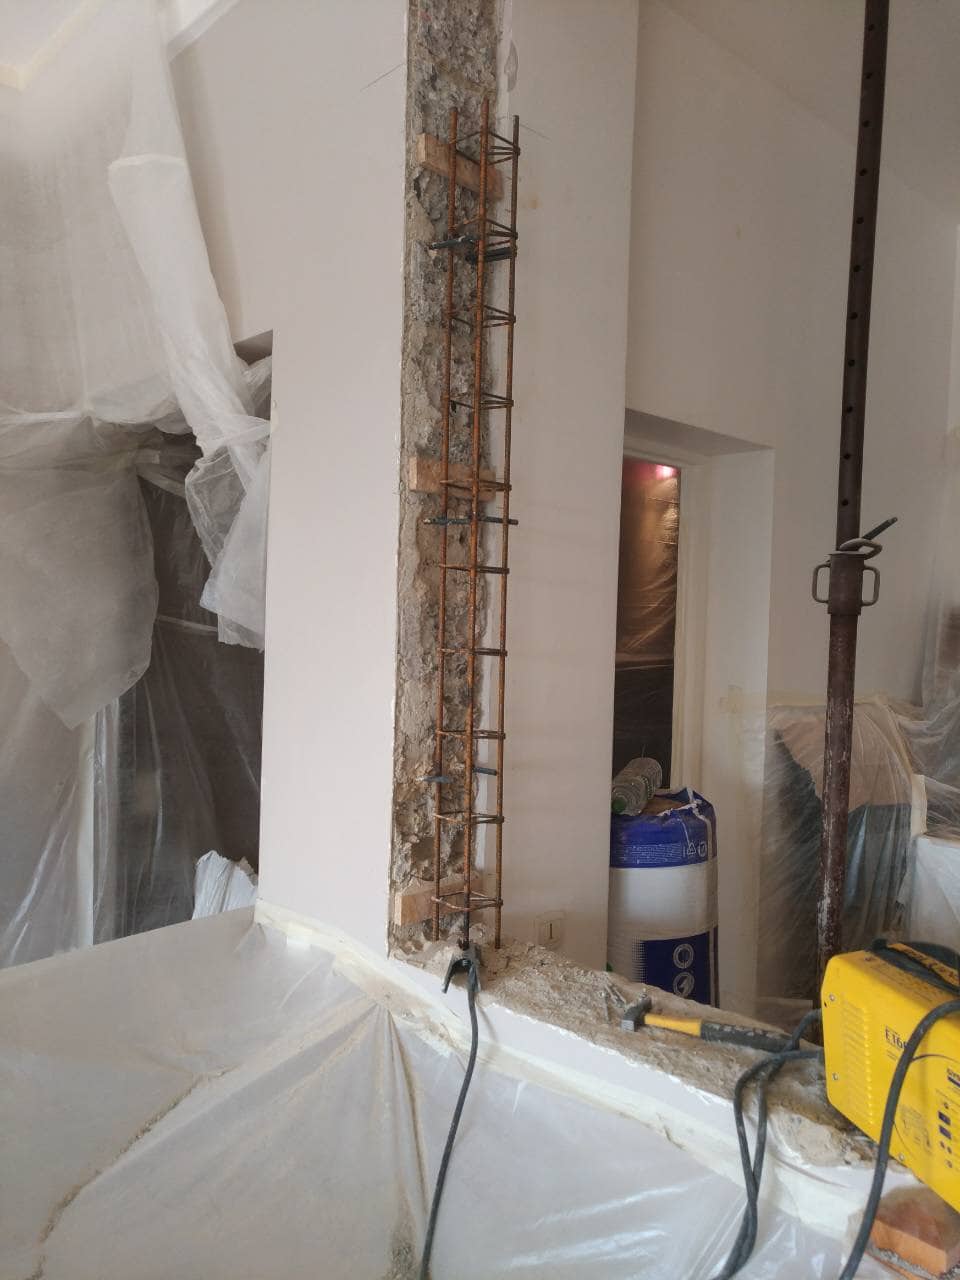
First, we create a reinforced concrete tie beam. It sits at the top and on both sides of the wall. They are anchored into the existing wall by chemical sealing of HA 6 U-bars. Next comes the horizontal chase over half the thickness of the wall. The first UPN 260 can then be set on the concrete padstone. For the other half of the wall thickness, we carry out the same tasks. Then we can break through the load-bearing wall in question.
The second project
This is an opening in the wall separating the dining room from the living room. It already exists and our task is to enlarge it. Located on the ground floor of a 4-storey building, the work carried out with this engineering office on the Côte d'Azur is the result of a careful study: site analysis, a study and the requirements for a safe opening. In addition, the area where the apartment is located is seismic! Only after that does our company carry out the work.
Also, the maximum span of the lintel is 2.31 m. That of the floors is 5.70 m and 3.00 m.
As with all our work, we skip no steps:
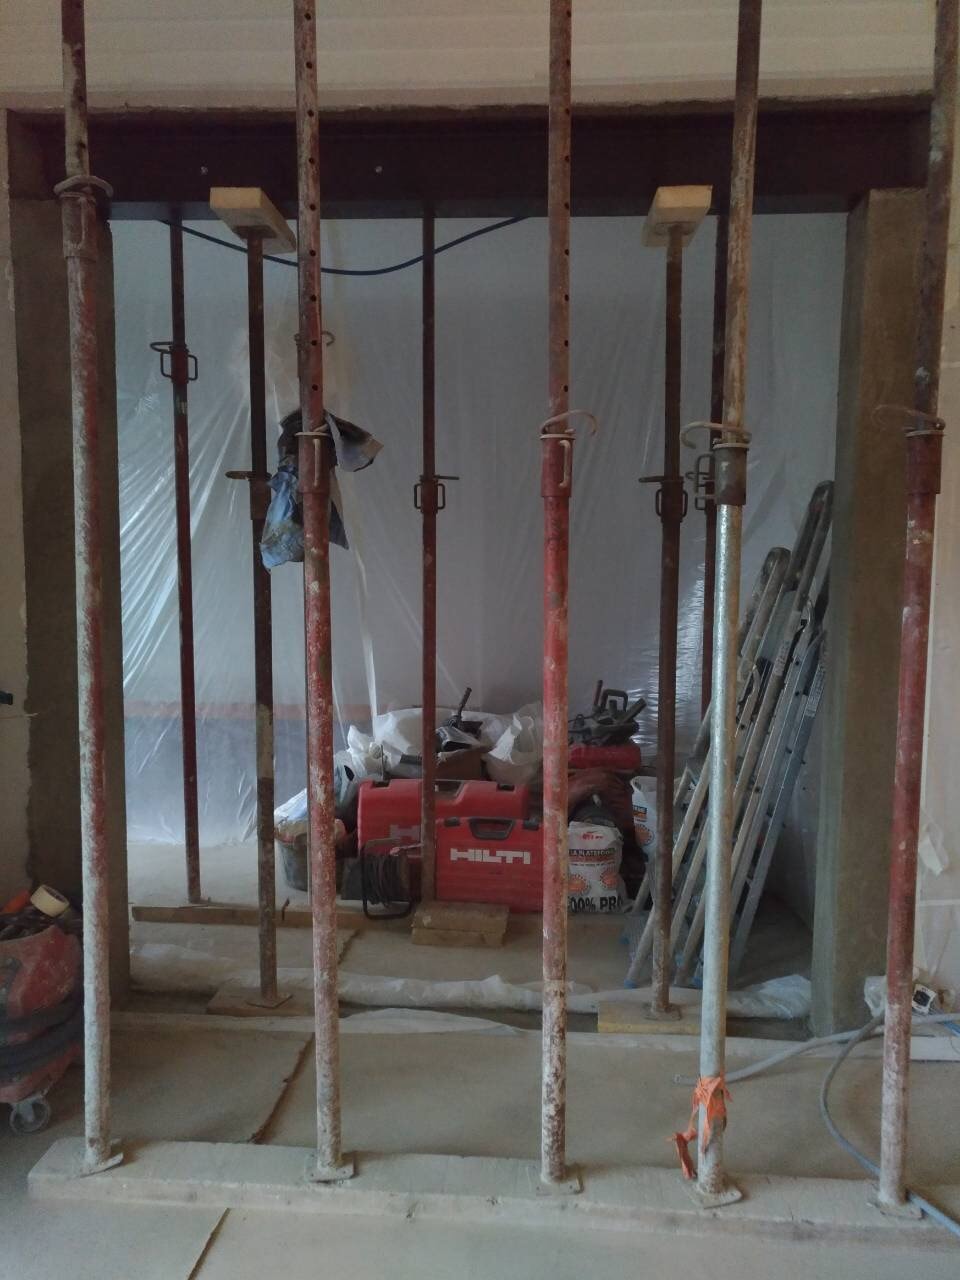
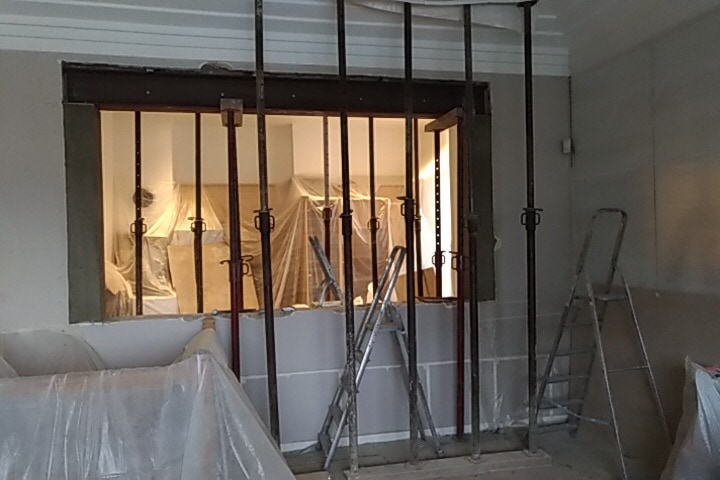
- Before the demolition of reinforced concrete load-bearing walls on the Côte d'Azur, the propping must be made and put in place. The wall is then cut on all sides: across the width, the cut is 40 cm (this is the side where the balcony is); on the other side, it is 20 cm; finally, a height H1 is created over the footprint of the vertical tie columns.
- Then, before forming and pouring the jambs, the hooked bars are sealed in. The base plates on the jambs are too, taking into account the 3-day hardening time of the supports. Once these have hardened, the wall is cut over its height (250 mm) and over half its thickness. We can then install the steel section, along with a hard point. There is also the loading of the wedges to the mass so that they can then be welded to the sections. We then deal with the other half of the wall.
- Finally, we carry out the actual creation of the opening in the load-bearing wall. However, before loading, filling with non-shrink mortar is required.
Note that, whatever the type of work, professionals take into account the requirements and rules of Eurocode 8.